Over a year ago, I did a blog post explaining how to ink with a brush. That blog post pulled in a lot of traffic (nearly 500 views via StumbleUpon!) and has been put on social media many times. Yet there were a few who told me that it needed something. It talked quite a bit about the basics of selecting a brush and maintaining it, but it didn’t talk much about actually using a brush for inking comics. In this follow-up to that post, I plan to discuss the topic as best as I can.
Once more, I reiterate that the pen is my tool of choice for inking comics. Inking with a brush isn’t easy. If you’re willing to put some time into it, brushes can be a more versatile tool for making lines. Before you go any further, please go back and read the first blog post on brush inking (the link is above). That will tell you what you will need and how to choose a brush.
The photo here shows my usual brush inking setup. You’ll need your brush (duh!), a bottle of ink, and a water container. Anything will do to hold water. Some use old glass jars, mugs, or plastic cups. The container in the picture is a Holbein collapsible water container, made by the Japanese company of the same name. As for your ink bottle, I suggest putting it in some type of tray or cup as shown in the picture. You’ll need something to wipe your brush off, both in-between inking and when you’re done. I use paper towels myself.
Start by wetting your brush. Dip it into your water container, swirl it around for a bit, then shake off any excess water as you remove it.
Next, take your wet brush and dip it into your bottle of ink. Stir the ink if you have to.
Remember that the ink may settle at the bottom, not unlike orange juice, so mix it with the brush for a bit to get it up to consistency.
Once your brush is loaded with ink, you’re ready to begin. The paper you work with should be thick. I usually draw my comics on smooth bristol board of at least 2-ply thickness. Some of you may prefer rough surface bristol. In this demonstration you’re seeing in the photos, I’ll be using watercolor paper from a spiral pad.
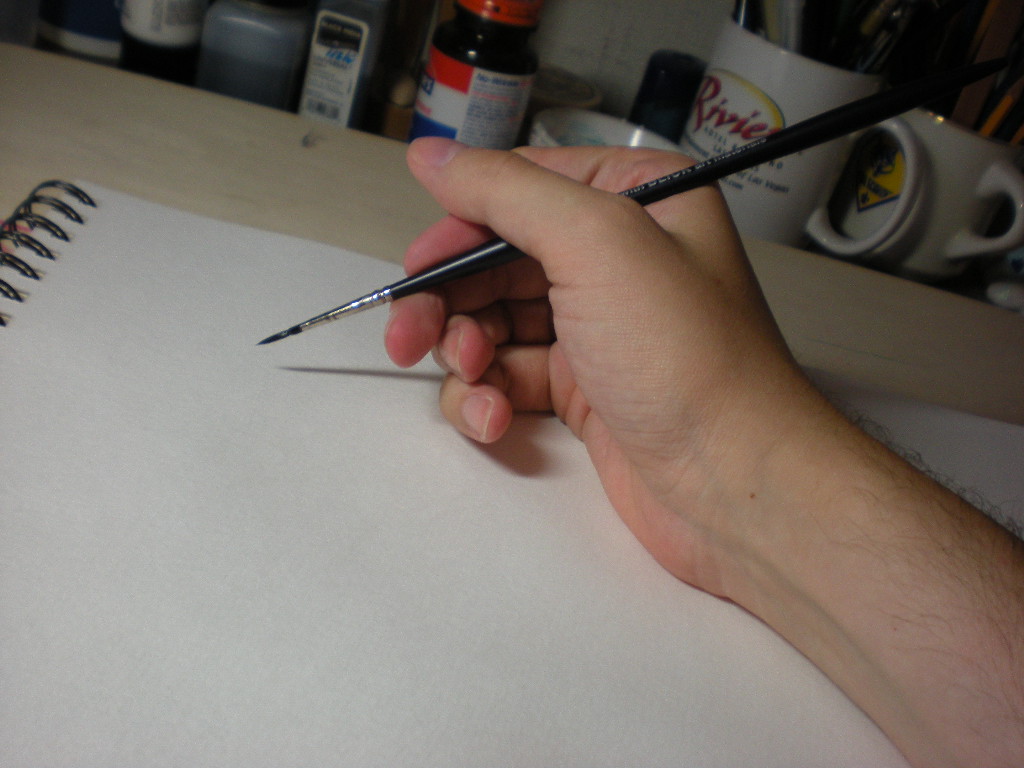
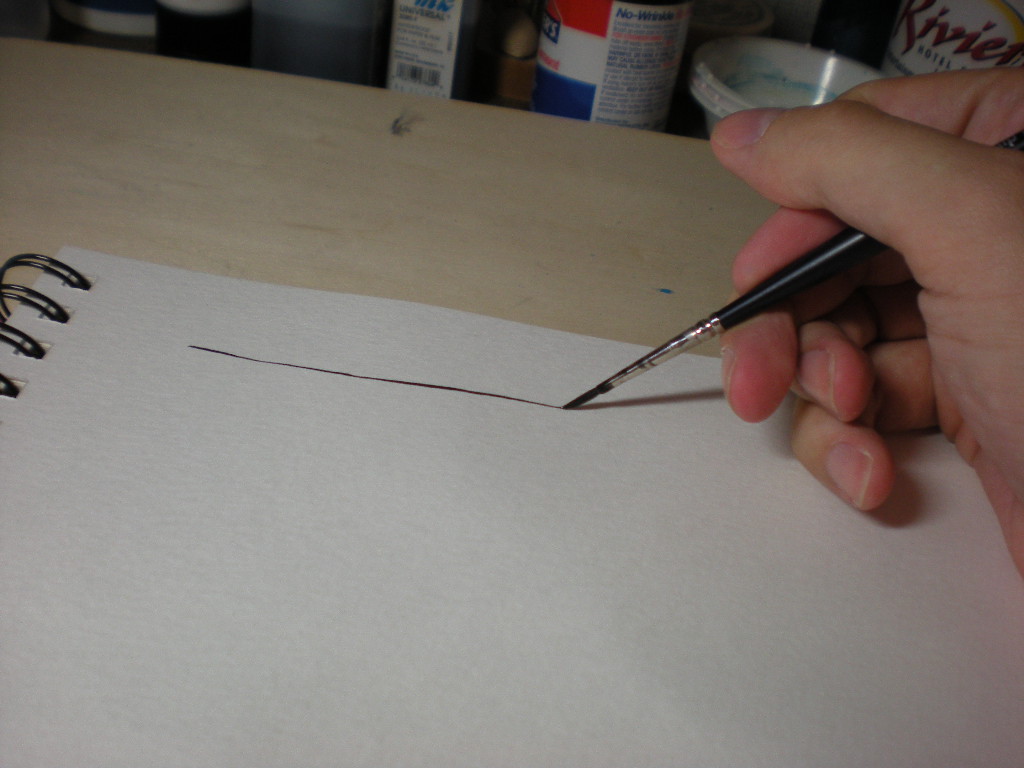
Hold the brush at a forty-five degree angle like you see in this photo. Hold it like you would a pen or pencil. Then move the brush along your paper. Keep your hand and wrist locked for this; do the brushing motion with your entire arm.
The line you see here is a very thin line. I wasn’t exerting that much pressure on the brush. Depending on how much pressure you exert on your brush, you can get a more thick line.
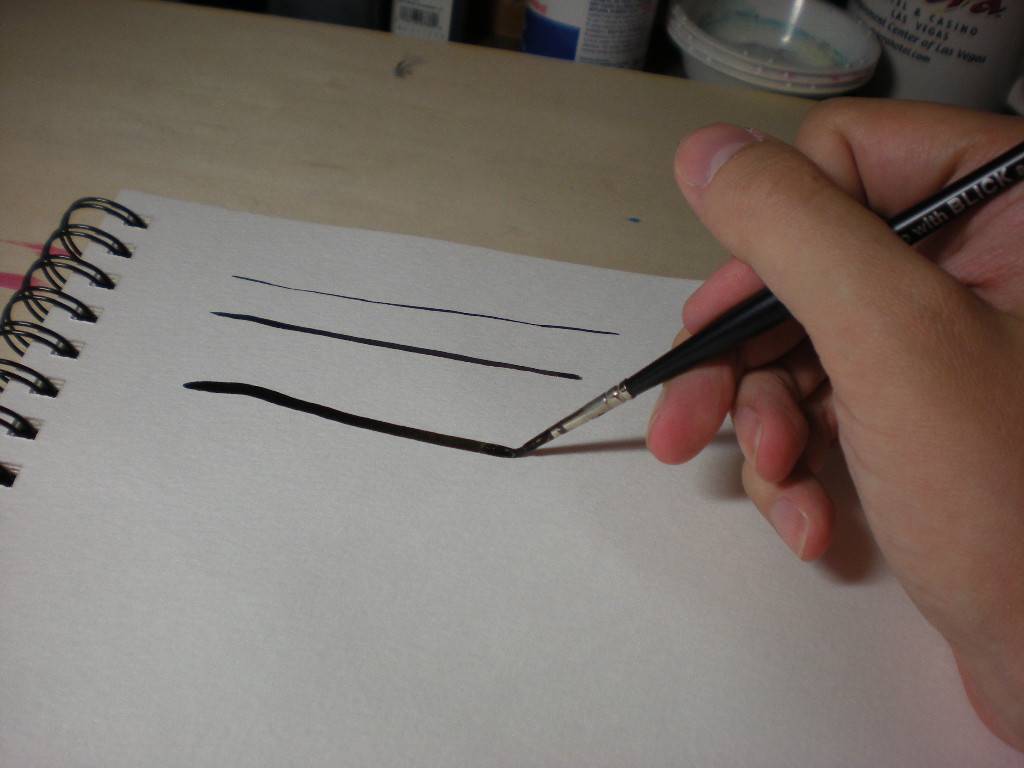
Here’s an example of some more thicker lines using more pressure on the brush.
From here on, the best I can recommend is for you to practice. Inking comics with a brush is not easy and takes practice, so don’t get discouraged. Practice on bristol or watercolor paper. Practice making all kinds of lines, big and small, thin and thick, and curved and straight. The brush can be a handy tool that can produce a line that goes from thin to thick to thin again. You CANNOT do that with a pen.
Again, I don’t use the brush that much for inking Sunnyville Stories. I only use it when I want to fill in black areas, if I want to draw a character in the foreground and want said character to pop out, or if I need some sort of “one of a kind” line or texture. Speaking of which, once you get some experience with brushes, why not try out the dry brush technique? It can be handy at times.
That’s all for this week. Subscribe via RSS feed or email if you haven’t already. Stop by Indy Planet to buy copies of my comics. Your comments and feedback are always welcome. What’s your opinion? We’d like to know.

