Picking up from where we left off last time, I’ll show you how I continue inking comics once I’ve inked the letters, panels, and speech balloons. Next comes a big part – doing the lineart.
I’ve explained that my primary inking tool is the nib pen. On occasion, I do make use of the technical pen or the brush (I’ll talk more about that next time). But by and large, I stick to nibs for drawing. The workhorse of my drawing nibs is the Speedball 513. It’s a bowl-shaped point and unlike many of the other points used for drawing comics like a Hunt 102 and 107, it doesn’t have much in the way of flexibility. However, I still find the lines very organic compared to that of a fixed-width pen (like a marker or Rapidograph).
If the situation calls for it, I’ll use a Speedball A5 nib (a fixed-width nib meant for lettering) or a Speedball 512, similar to the 513 nib but not as thick of a line.
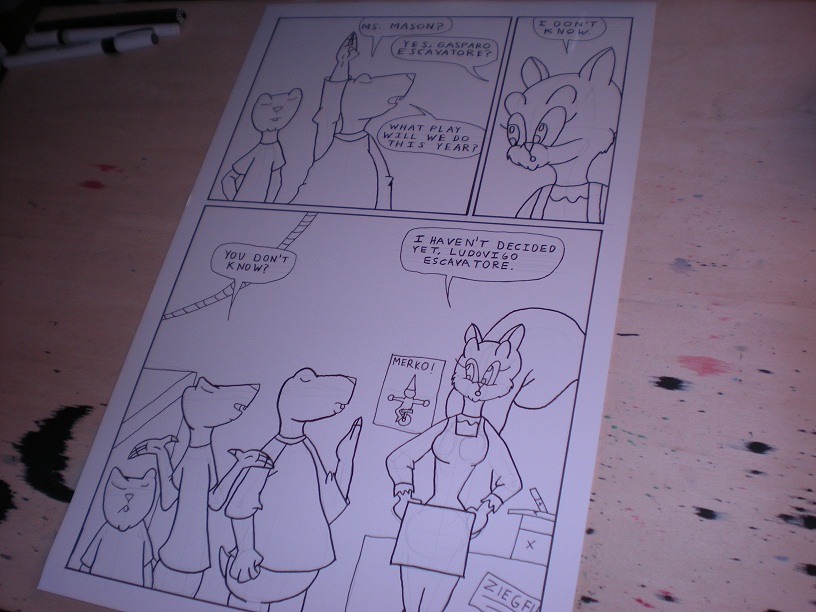
From there, I will ink all the characters first. Once that’s finished, the background and its contents therein gets inked. For those, I use a 0.50mm Rapidograph. If I need to show something in the distance really faraway like mountains, I’ll use either a Uniball or a Hunt 107 nib. Anyway, here’s what the inked lines look like.
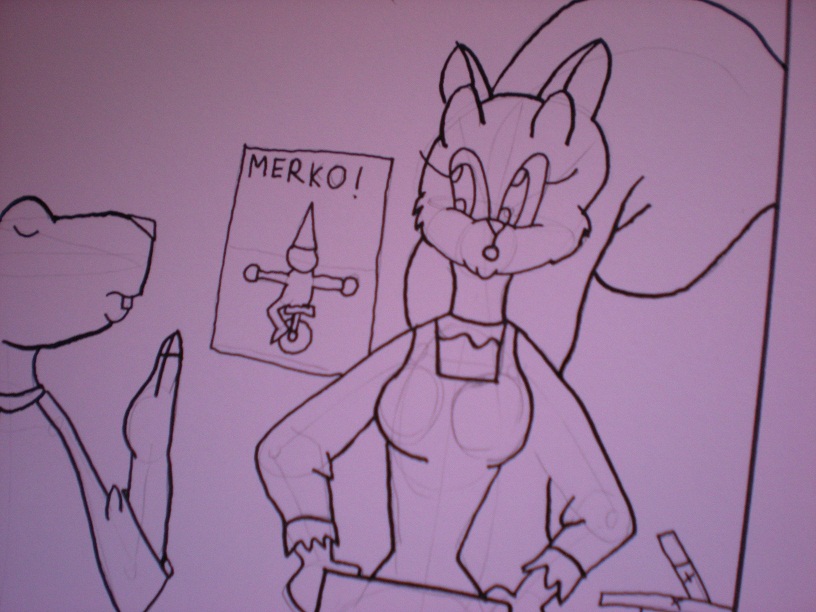
Once I finish inking all the lines, I’ll set the page aside for awhile to let it dry and start working on the next page. Now, why am I doing this? You may have noticed that I said nothing about erasing the pencil lines. If you take a look at this photo, you’ll see that they are still there.
There’s the lovely schoolteacher, Ms. Mason, all inked with a Speedball 513 nib. The pencil lines are still visible there. Anyway, why do I set the page aside for awhile?
It needs to dry. Immediately going straight to erasing can smear the wet ink and that will make a mess. I usually let it dry for at least thirty minutes, sometimes longer, while I work on another page.
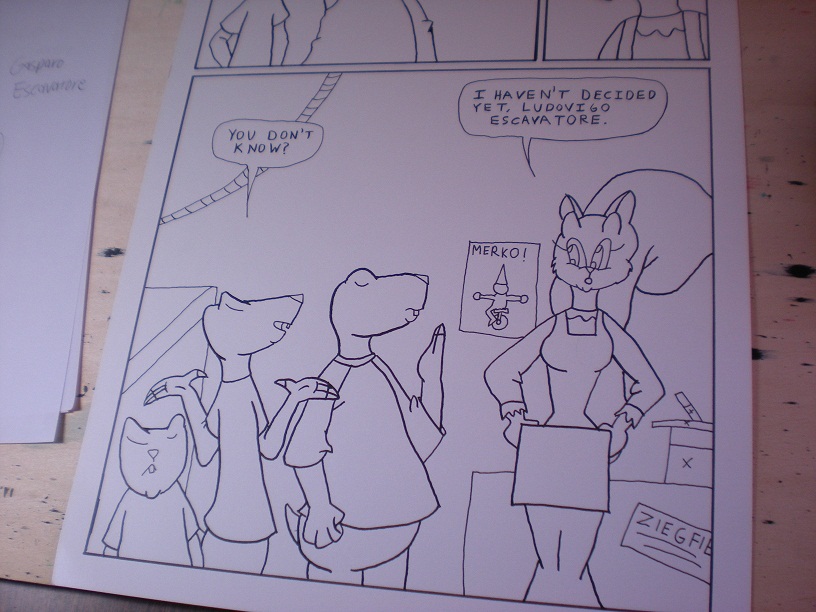
Once that page is dry, I break out my erasers and erase the pencil lines. Using a plastic eraser (I use a Staedtler Mars brand) and a kneaded eraser, I erase all the pencil lines. To get rid of those eraser shavings, I’ll dust them off with a drafting brush.
Here is the clean lineart with all the pencil lines erased. It looks very neat, doesn’t it?
From here, I move onto the next step. But that will have to wait until the next time.
That does it for now, loyal fans. Make sure you subscribe via RSS feed or through email if you haven’t already. Also follow the sync on Newsgrape. Be sure to stop by Indy Planet to buy your copy of my first book, Sunnyville Stories Volume 1, as well as my other comics – or get a copy over at Desert Island of Brooklyn, New York. As always, I welcome feedback. What’s your opinion? We’d like to know.


Pingback: How I Ink a Comics Page, part 3 | Sunnyville Stories