Today, all of you are in for a treat. I’ve talked to you about how to make comics and my own working process. But there’s the old adage that actions speak louder the words. So I will show you how my process of inking comics is done.
You might want to refer back to my tutorial on inking comics for the materials you’ll need. I’ll show you the materials I use and the working methods I employ. Just a caveat here: this is what I do. This is just the way I work. I’m not claiming that my way is the only way to ink your comics pages. But this should give you an idea of what happens. But enough droning on…let’s begin.
Before I actually start the process, I want to go over some things with you. Inking is drawing, not tracing. It’s a skill that you need to devote your full attention to. I find it hard to ink comics pages while watching television so it’s probably a good idea not to ink while watching the latest blockbuster hits on cable. Music though can be good. It helps pass the time and it can help you concentrate. Some artists like to listen to classical music or movie soundtracks. My choices for music tend to be the Beatles, the Beach Boys “Pet Sounds” album, and “Mark of the Moles” by the Residents. Progressive rock is another personal favorite genre of mine and I’ll listen to albums by the Alan Parsons Project, Gryphon, and Glass Hammer while I work.
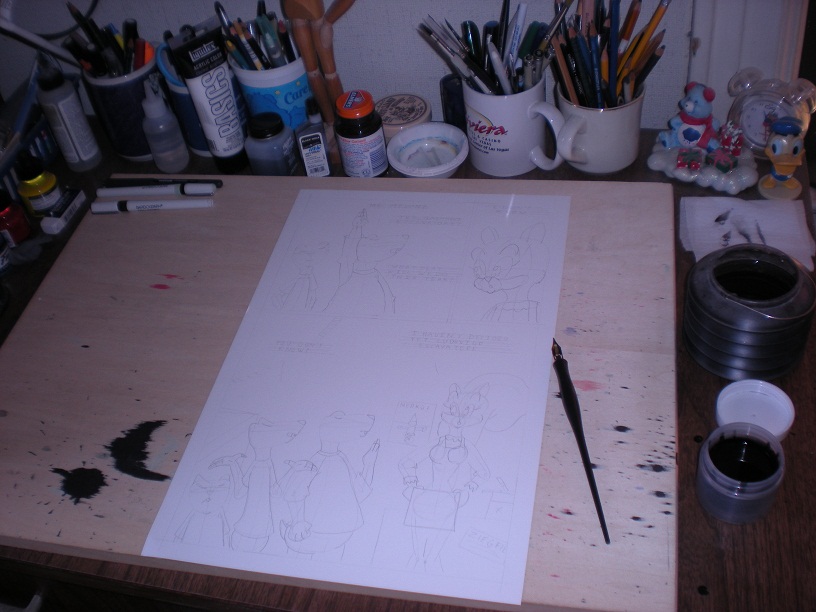
Observe my setup here. I have my pencilled comics page from Sunnyville Stories episode 6 laying on my drawing board. On the right are my jar of ink, a container of water, and a Speedball pen nib holder (more on that in a bit). Up there in the left hand corner are a pair of Koh-I-Noor Rapidograph pens and a Uniball pen. Anyway, with all this set up, the first thing I do is I start inking the lettering on the page.
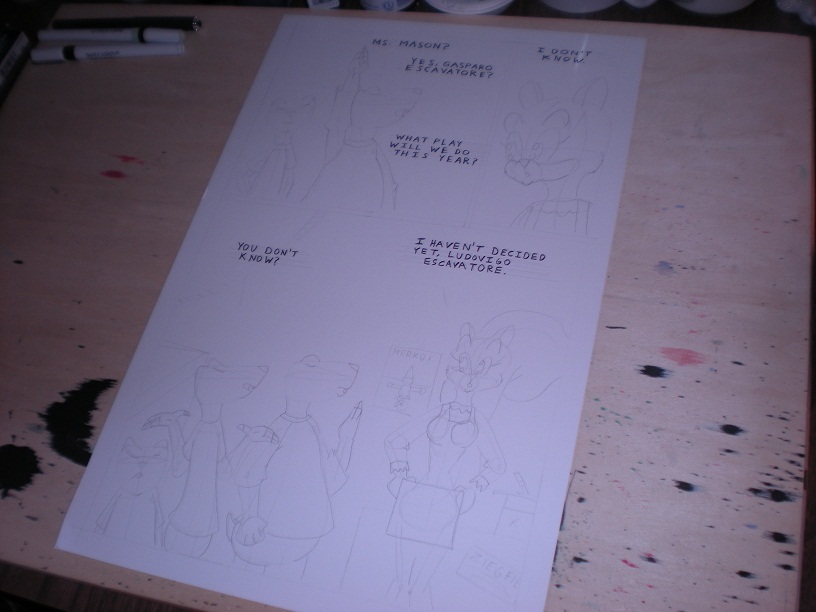
Using the Speedball C6 lettering big, I ink the lettering. Words that characters say, some backgrounds words, and signs are also inked at this stage. If I need to do display lettering, I’ll use the Speedball A4 or A5 nibs.
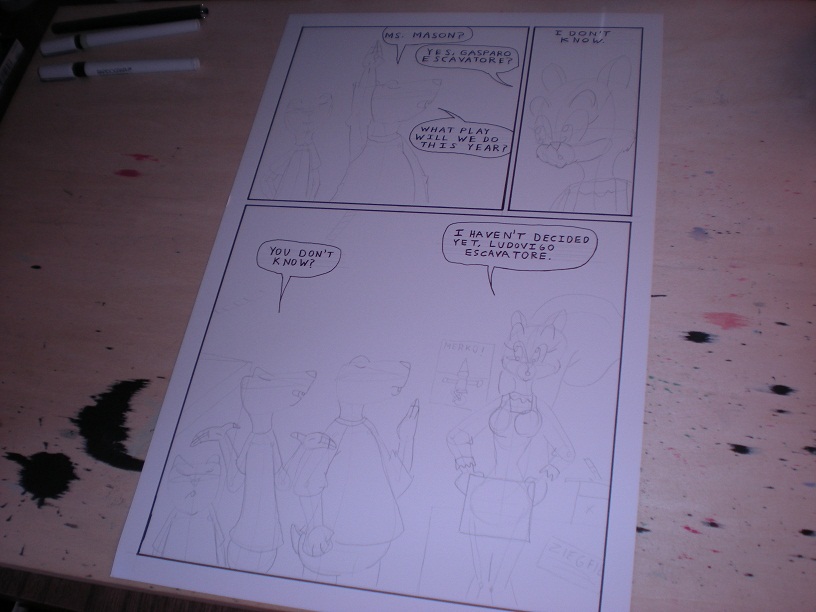
This is what the page looks like after I’ve inked the letters. From then on, I move onto doing the panel borders. For that, I use a T-square and the 1.00mm Rapidograph pen. The technical drawing pen is very handy for this task. Since it’s best to have a flat consistent line for your border, the Rapidograph excels at doing that. After the panel borders are inked, I will do the speech balloons. The smaller Rapidograph, the 0.50mm one, is what I use to do the speech balloons and caption boxes.
This is what the comics page looks like after I’ve gone over the letters with ink and drawn in both the borders and balloons.
Alas, readers, the next steps will have to wait until my next blog post.
Make sure you subscribe via RSS feed or through email if you haven’t already. Also follow the sync on Newsgrape. Be sure to stop by Indy Planet to buy your copy of my first book, Sunnyville Stories Volume 1, as well as my other comics. Don’t forget that in two weeks, I’ll be attending the Small Press Expo 2012. Your feedback is welcome here on the blog. What’s your opinion? We’d like to know.


Pingback: How I Ink a Comics Page, part 2 | Sunnyville Stories