Well, ladies and gentlemen, I’ve come to the very end of my tutorial on how to make comics. My blog posts were meant to give a basic idea of how to make your own comic. My way is not the only way – many out there find a groove that works for them and stick to that. Others may prefer something more exact or something more simplified. The best thing I can recommend is to investigate the process, see how it’s done, and develop your own methods of making comics. There’s some good resources I’ll clue you in on…but I’ll get to that in a bit. Right now, I’ll give all you loyal readers out there an inside look at how I work.
1. First thing’s first: I need an idea. I’ll start by trying to think of some of my personal experiences. I’ll also scour some of my inspirational scrapbooks (more on this in a future post). Sometimes, I watch episodes of the anime Maple Town (the inspiration for Sunnyville Stories) or I’ll watch other stuff like cartoons of the 1980s, movies, TV shows, etc. I might surf the web, read through a book, or go for a walk. These will usually put an idea in my head.
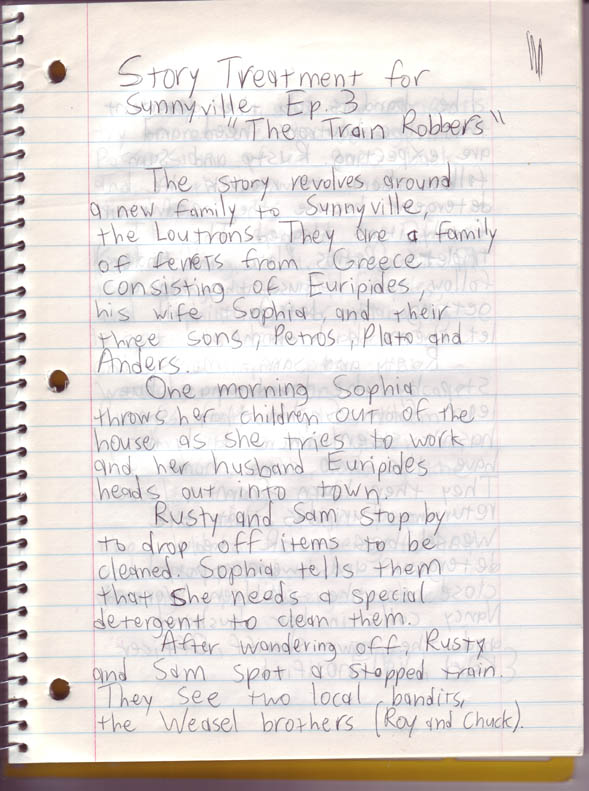 2. Once I have a solid idea down (i.e. Rusty is forced to go to a dance or Sam destroys her mom’s favorite flowerpot), I’ll then write a story treatment. The treatment is nothing fancy. I’ll just write by hand two to three pages of what basically happens – how the story starts, the conflict, the reversal of fortune and recognitions of said reversal. I avoid any specific lines or cute little jokes. The purpose of the treatment is to establish a framework for the story that I can build upon. It might take a few tries to do this as I have had to throw out the original story treatment for the sixth episode of Sunnyville (not scheduled for release until 2012). Once I’m satisfied with the treatment, I’ll move onto the next step.
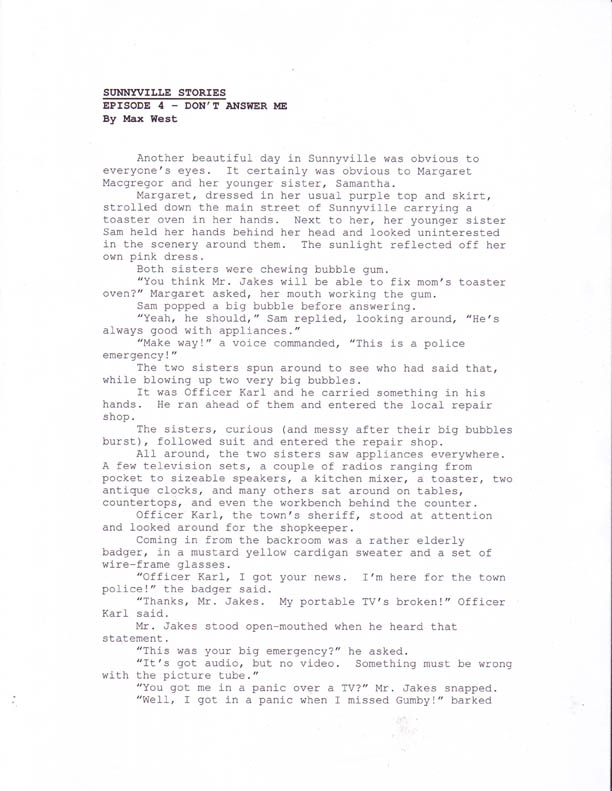 3. I type a script from there. I usually use a prose style script – I don’t like the ones that resemble theatrical productions or films. This is more detailed than the story treatment and has an in-depth description of the story and characters. Using my story treatment as a blueprint, I’ll type everything out and make sure it works out. I’ll review the script several times, read it aloud a few times, and sometimes forward it to friends for review. Once I feel that it’s solid and workable, I’ll go over to the drawing phase.
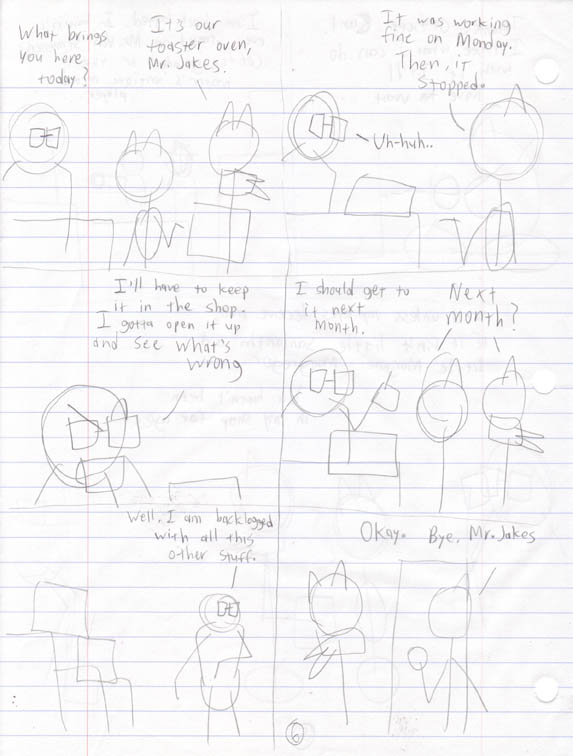 4. Once the script is done and finalized, I’ll start to scribble out thumbnails. These are very simplistic and crude scribbles – they are NOT intended as exquisite fine art. They are simply meant to work out the compositions and layouts before I put them onto my bristol board. I’ll plan out how many panels each pages has, character positions, whether it’s distant, medium, or closeup, and any stage directions (like a character looking up or to the right). Like with my scripts, I may not get it right the first time. I’ve had to get rid of thumbnails and start all over again from scratch. This is important as it makes the pencilling step easier.
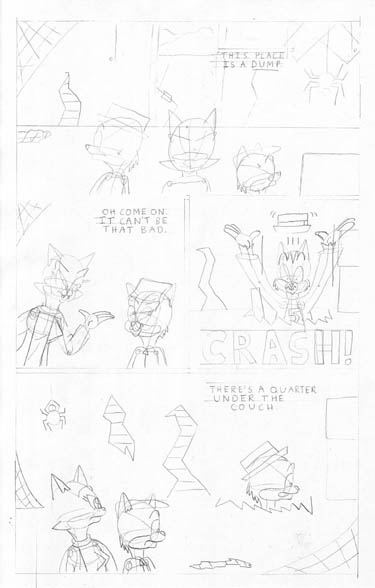 5. The pencilling stage is next. Using my thumbnails, I’ll draw the borders onto a 11×17 inch bristol board (my choice is Strathmore 300 series smooth bristol) with a H pencil and then loosely pencil in figures and background with a wooden HB pencil. Then I make another pass over the page and tighten up the pencils, adding in more details with a mechanical HB pencil. If I need reference, I look for it ahead of time and make reference sketches from photos I can get.
Once the drawing is done, I’ll then use an Ames Lettering guide with a straightedge and 0.5mm mechanical pencil to do the lettering. Display letters are done freehand and usually at a larger size.
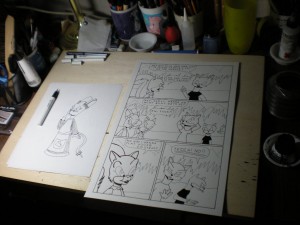
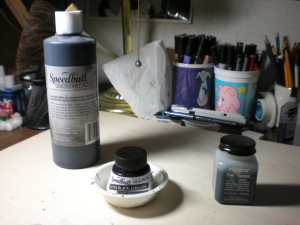 6. Next comes the important (and fun step) – INKING! First, I ink in the lettering. Those I will go over with a marker like a Pigma Micron or Pilot V-Razor Point pen. From there, I will do the panel borders. I use a straightedge (like a T-square) and a 1.0 mm Rapidograph pen to do the borders. I then do speech balloons and from there, I’ll ink in the line art for the characters and background. I tend to use nib pens for the characters, preferably the Speedball 513 nib. If I need a character to “pop” out in a scene, I’ll use a brush to ink with or draw the character with a Speedball A5 nib. In general, my tools are nib pens, technical pens, a pigment marker and brushes.
7. Once I finish inking in the lineart, I’ll let it sit and dry for at least thirty minutes. This is very important. If I try to erase the pencils before it’s fully dry, I can risk smearing the ink. Anyway, once the ink is dried, I’ll erase the pencil lines with a plastic eraser, a kneaded eraser, and drafting brush. Once the pencils are erased, I’ll fill in black areas like characters’ eyes, shadows, shapes in the extreme foreground. I’ll do those with a brush and Speedball super black india ink.
7. Once that is finished, I’ll let the page sit and dry. When the black ink is finally dried, I’ll do patterns such as cross-hatching, hatching, feathering, scribbles, dotting, etc.
8. If there are any mistakes, I cover them with white acrylic paint. If anything needs touching up, I fix it.
9. Once I finish all my comics pages…I’m done! Then I go back to step 1 and start all over again.
For further reading, I recommend the following books.
The DC Comics Guide series, various authors, Watson-Guptill (These books cover writing, pencilling, inking, coloring/lettering, and digitally drawing comics. While geared towards mainstream superhero material, these books are still a goldmine of information.)
Drawing Words and Writing Pictures by Matt Madden and Jessica Abel, First Second
Making Comics: Storytelling Secrets of Comics, Manga and Graphic Novels by Scott McCloud, Harper Paperbacks
Perspective! for Comic Book Artists: How to Achieve a Professional Look in your Artwork by David Chelsea, Watson-Guptill
How to Draw Comics the Marvel Way by Stan Lee and John Buscema, Fireside
The Complete Idiot’s Guide to Creating a Graphic Novel (2nd Edition) by Nat Gertler and Steve Lieber, Alpha
The New Drawing on the Right Side of the Brain: A Course in Enhancing Creativity and Artistic Confidence by Betty Edwards, Tarcher
Good luck and happy drawing!

Pingback: Review: The DC Comics Guide to Inking Comics | Sunnyville Stories